If you are a tattoo artist, you probably know how important it is to master lining and shading, but the problem narrows down to how well you tune the machine. Tuning a machine can be tricky but if you want to know how to tune a tattoo machine for lining and shading, stay tuned
In recent ages, tattooing popularity has greatly increased because of the love and attractiveness of some quality pieces of body art. Due to the growing market demand, people’s standards and expectations have increased.
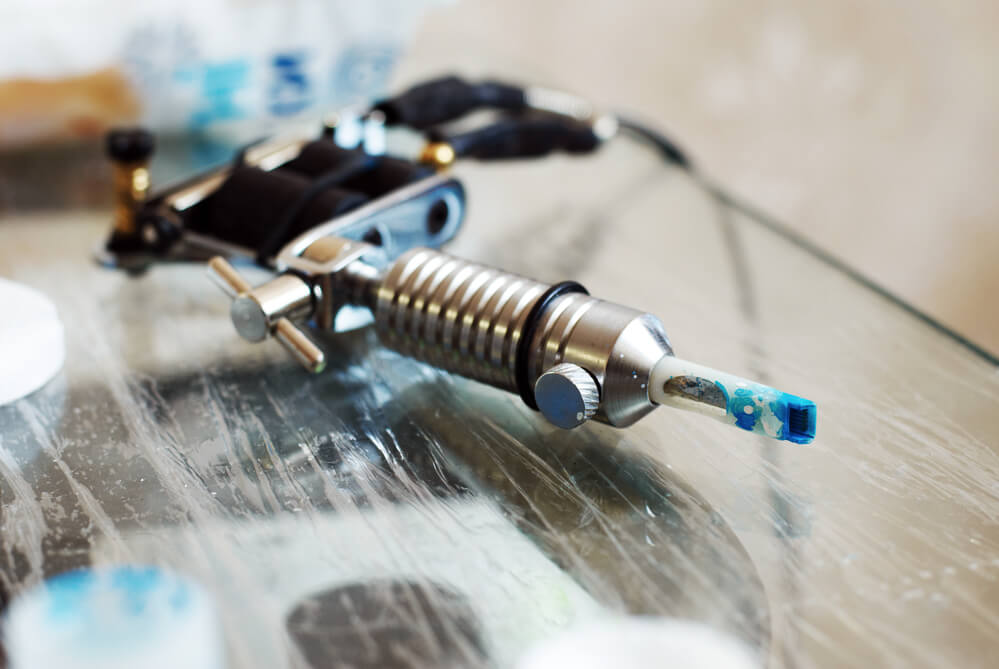
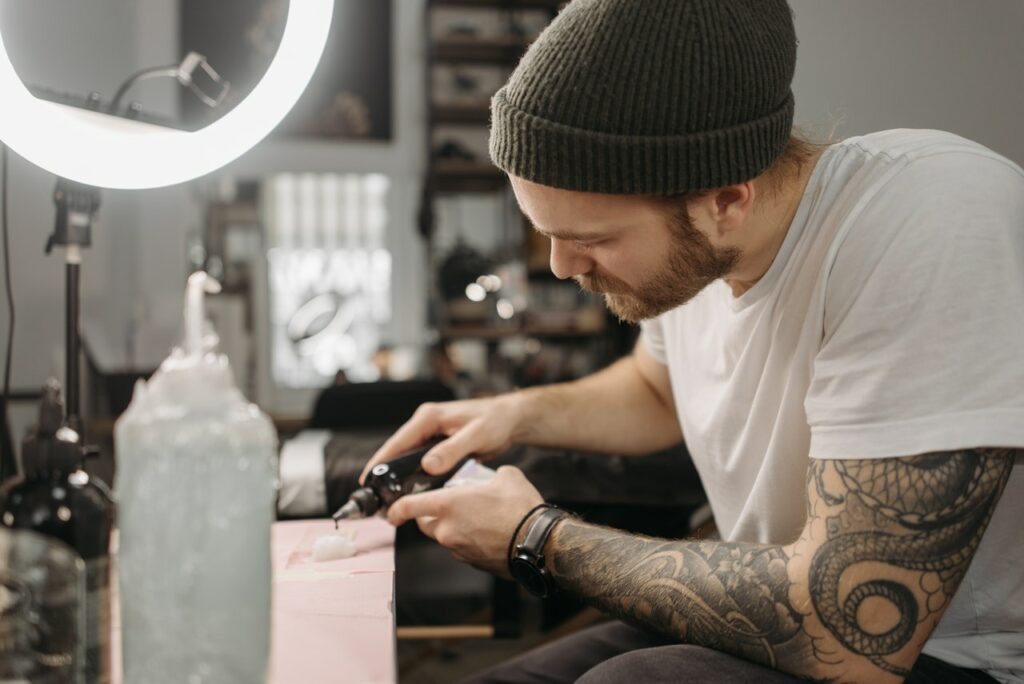
A tattoo machine is proper equipment used to perform body art. For an artist to come up with an eye-catching piece of art, they need to have mastered the art of tuning a machine for better drawings.
You are in the right place if you want to know how to tune a tattoo machine for lining and shading. This post will discuss how to tune your machine well for lining and shading.
Stay with me.
What is Lining?
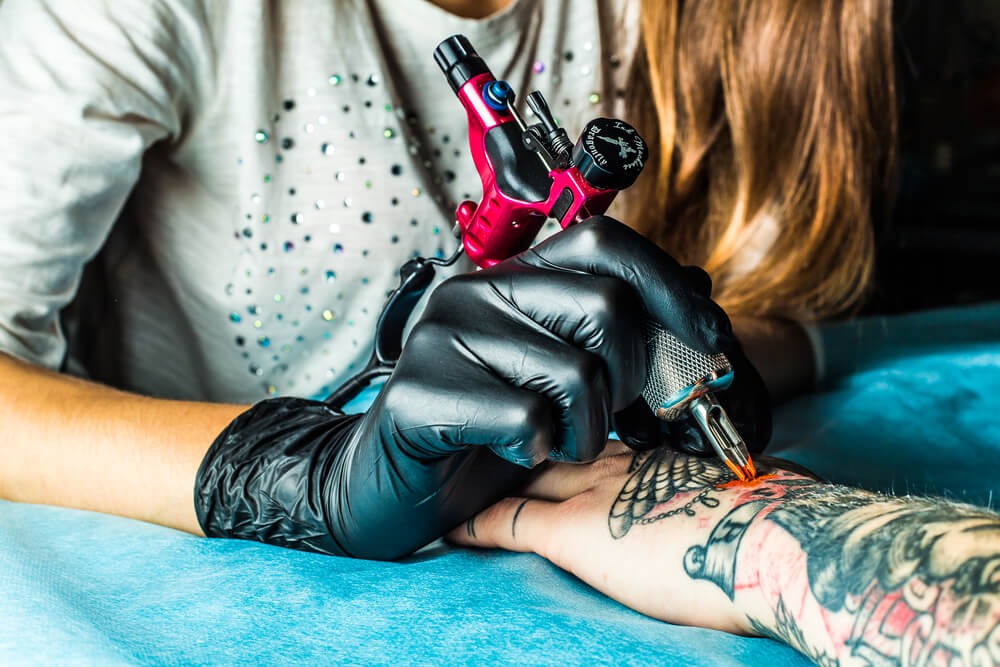
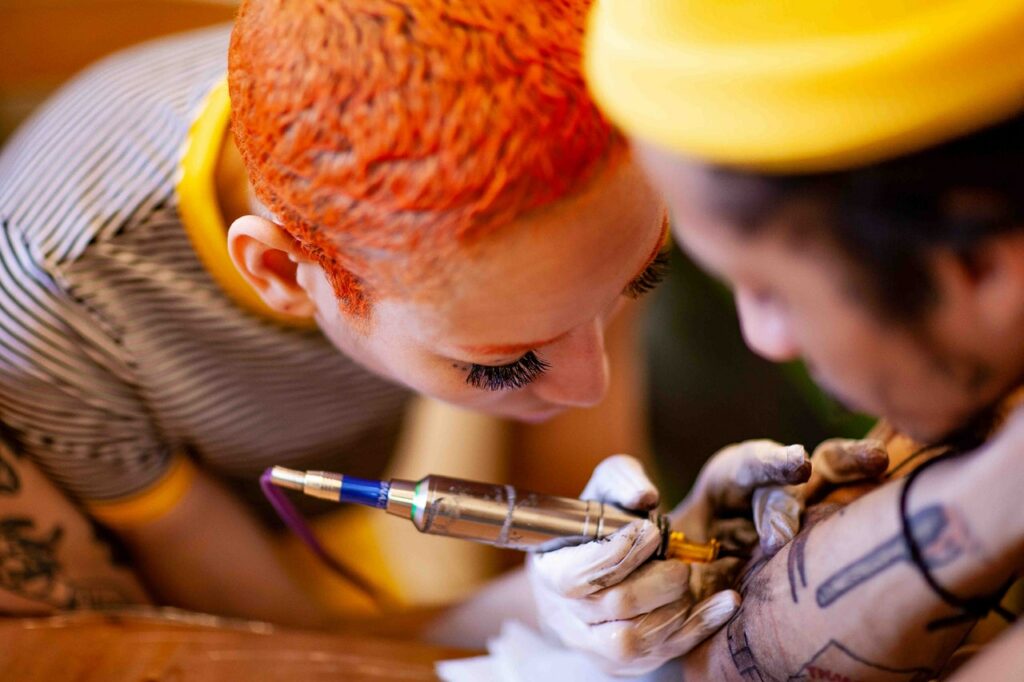
Lining is the outline of a specific tattoo, basically termed the skeleton of the body art. Lining may not look as simple as you think since it determines the physical outlook of a tattoo, and if you mess up a single step here, you will end up spoiling the whole art.
Since lining is a crucial step in the whole tattooing process, you will need to invest a lot of time and concentration to ensure you get a quality end product. If you end up drawing lining perfectly, you can be rest assured of having a quality piece of body art.
But before you get to draw the lining perfectly, you first need to know how to tune the tattoo machine perfectly. Once you master machine tuning, you will have an easy time drawing perfect outlines with zero struggles.
Below we have simplified steps to help you tune your machine easily for lining. Make a follow-up, and you will become a pro in no time.
Simple Steps to Help You Master How to Tune Your Machine for Lining
We have simplified some steps below to make it easy for you to master machine tuning. These steps will help you understand your tattoo machine better and give you an easy time referring just in case you forget.
Hold Your Tattoo Machine And Keep The Coils At Eye Level
First, hold your tattoo machine and keep the coils at eye level. Then press down the armature bar to see whether the front coil top touches the armature bar as it comes down before the rear coil connects with the bar. If it does not connect with the bar, you should adjust and shim your coils.
Shims will raise the coil so that the front bar touches the armature just before the rear coil. When purchasing a shim, ensure you get a quality one from a tattoo supply store.
Also, ensure the standing gap between the front coil and the armature bar when not moving is about 1mm.
Adjusting the Speed of the Machine
In this step, you remove the retaining bar on the contact screw on the top back of the tattoo machine. You can then adjust the speed of the machine by either turning to the left to the right to make it faster or turning it to the left to make it slower; however, slower speeds are preferred for lining purposes.
The volts preferred for lining are around seven to eight volts to get accurate lining speed. You can then replace the retaining bar on the screw.
Adjusting the Spring Tension
After replacing the retaining bar, you can adjust the spring tension to help you get a shorter or longer stroke, depending on your preference. The spring tension controls the needle stroke, which you can adjust to suit the drawing you want.
For example, if you are working on lining, you can adjust the stroke to a short, medium, and strong size to make drawing easier.
Gathering Items Required for Lining
This is the step where you collect the items needed for lining purposes. The items are a layout tube, a blister pack needle, and rubber bands.
Remember accuracy is very important during lining; therefore, when picking tattoo needles for lining, you should ensure they are sharp-pointed and not flat to improve accuracy.
Sterilizing the Machine
Here, you first wear the latex gloves before handling sterile machine pieces to avoid contaminating them. After that, you open the sleeve, ensure the tube is inside then place it in the work area.
Note that you should cover the work area with a clean cloth.
Bending the Needle
Open the blister pack with the sterile needle, then bend slightly on the needle to ensure there will be tension when mounted on the machine.
Adjusting the Needle
Slide the needle into the tube so that the curve faces back towards the machine. Then mount the hook end of the needle over the pin on the machine and set it in its right place.
Determine the Type of Lining Required
Wrap the rubber band around the needle arm and around the back of the machine to increase tension on the needle. Then turn the machine on and adjust the speed according to the type of lining you want to do.
If you want a heavy lining, you should have a faster speed, while if you want a fine lining, you should have a slower speed.
What is Shading?
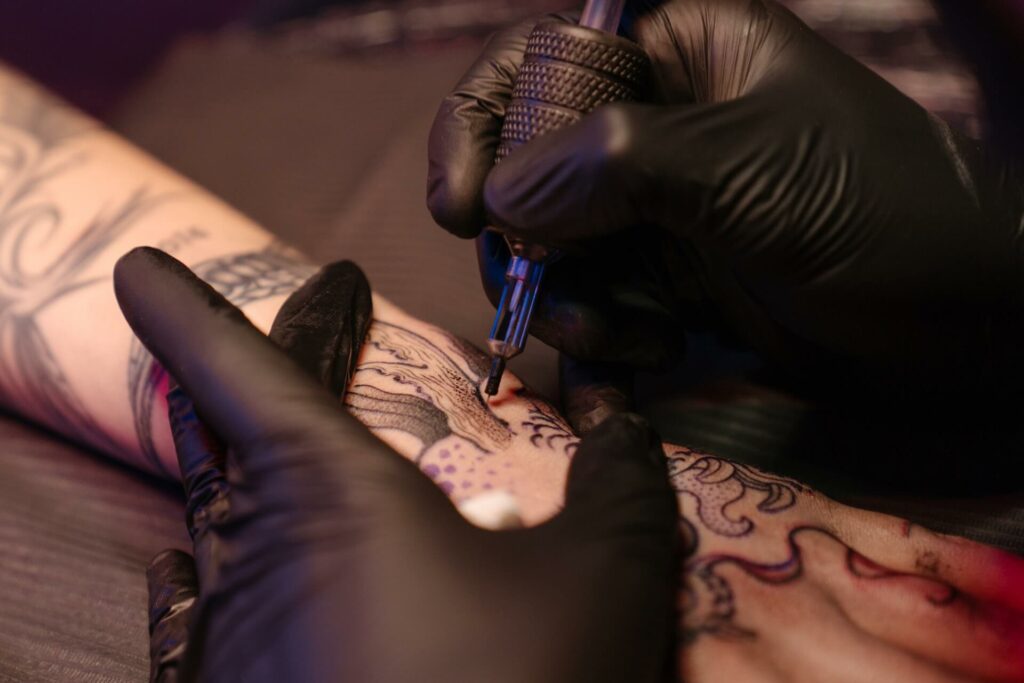
Shading is applying shade to a piece of body art to make it more appealing and artful. When shading, the same tattoo machine used for lining is also used; however, it has a different setting format.
If you are a tattoo artist, you will have the edge over other artists when you master shading. But first, you need to master how to set your machine to accommodate shading.
Quick Easy Steps to Help You Tune your Machine for Shading
The steps below will help you set your machine right for shading. Follow them closely, and you will be there in no time.
Gap Setting
First, you set the gap between the armature and the contact screw for shading at approximately 2mm.
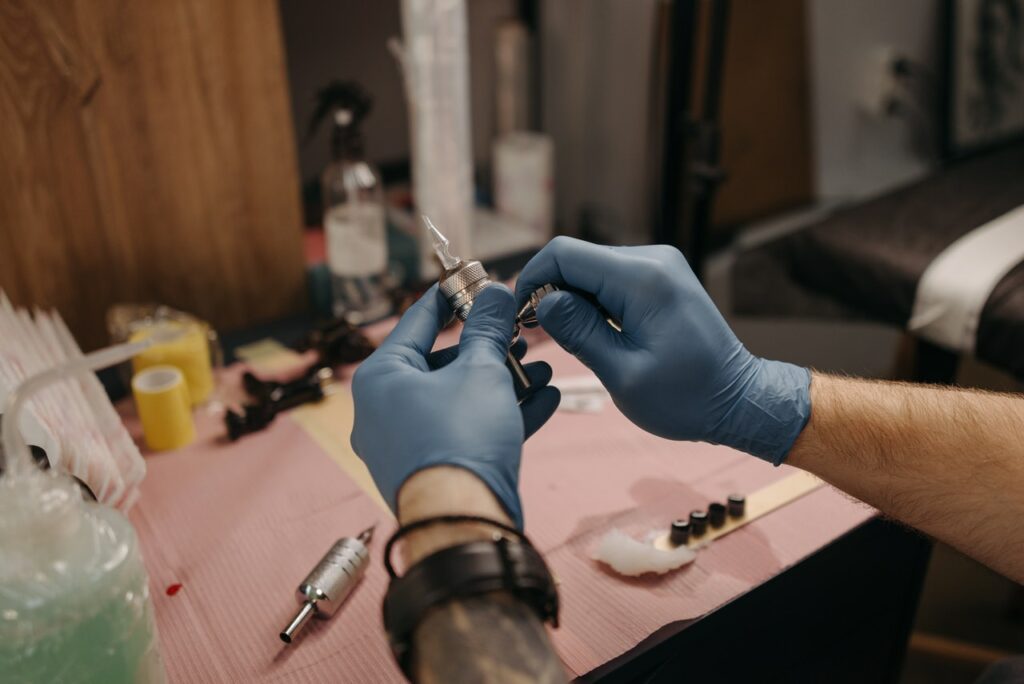
Attaching and Examining the Needle
Secondly, you attach the needle tube appropriate for shading to the tattoo gun. Then you insert the matching needle bar into the tube and secure it.
Ensure you examine the needle tip with a magnifier, then adjust the needle tube and rubber band appropriately.
Speed Adjustment
Lastly, you reset the speed of the machine to a slower speed required for shading. To ensure you set the speed correctly, observe the sound produced by the machine.
A slow speed produces a deeper buzz compared to a higher speed.
Frequently Asked Questions
How long does shading take on a tattoo?
A simple shading process should take less than an hour to full completion for experienced artists, depending on the tattoo’s size. If it is detailed and requires different color shades, it could take approximately two to three hours to full completion, depending on the tattoo’s size and the artist’s experience.
What stroke is best for tattoo lining?
The best lining strokes you can get are around 3-3.5mm. Anything above 3.5mm is used for shading.
How many volts should a liner tattoo be?
The appropriate volts for lining should be about seven to eight volts. When adjusting the voltage, you should listen to the sound produced by the tattooing machine.
At seven volts, the machine should produce a steady buzz. The sound should not crackle or produce a funny sound when fully adjusted.
Wrap Up
The post above shows you how you can tune a tattooing machine for different types of tattooing methods. The steps have been simplified to help you master how to tune a machine easily like a pro.
Mastering how to tune a tattoo machine for lining and shading will give you an easy time when drawing, and it will help you draw better tattoos. Once you draw better tattoos, your business will expand greatly. All the best in your tattoo drawing career.